Losing years of email history because you switched jobs, changed devices, or got locked out of an account is a real headache. If you’ve ever searched for a simple way to do a Microsoft Outlook mail download, you already know the web app doesn’t make it obvious.
The good news? There are several working methods, from Microsoft’s own built-in export tool to faster third-party options, and you don’t need to be an IT expert to use them.
In this guide, you’ll learn exactly how to download your Outlook emails from the Microsoft 365 web app, whether you want a single message, a whole folder, or your entire mailbox with attachments. We’ll also cover free options, admin-level exports, and common mistakes people make along the way.
Table of Contents
Why Download Outlook Emails from the Web App
There are plenty of reasons people look for a way to save their inbox locally:
- Switching email providers (moving from Microsoft 365 to Google Workspace, or the other way around)
- Legal or compliance needs, where a business must keep a record of communication
- Offline access, useful for travel or unreliable internet
- Protecting against accidental deletion or account lockouts
- Freeing up mailbox storage without losing important messages
Whatever your reason, Outlook Web App (OWA) — also known as Outlook online — doesn’t offer one single “download all” button the way some other services do. Instead, Microsoft splits this functionality across a few different tools. Once you know where to look, though, it’s straightforward, and most methods work without any extra software.
Before You Start: Things to Check
A few quick checks will save you time later:
- Confirm your account type. Personal Outlook.com accounts and work/school Microsoft 365 accounts have slightly different export options.
- Use a desktop browser, not the Outlook app. The Outlook mobile app doesn’t support bulk export, so switch to a computer for anything beyond a single email.
- Check your storage space. If you’re exporting a large mailbox, make sure your device has enough free disk space.
- Know your admin permissions. Bulk, organization-wide exports usually require Microsoft 365 admin or Purview access.
- Back up before you delete anything. Never remove emails from your mailbox until you’ve confirmed the downloaded copy opens correctly.
Method 1: Download a Single Email as PDF
This is the quickest option if you only need a handful of messages.
- Sign in to Outlook on the web.
- Open the email you want to save.
- Click the three-dot menu (More actions) at the top of the message.
- Select Print.
- In the print dialog, choose Save as PDF as your destination.
- Pick a folder on your computer and save.
Method 2: Save Emails as .eml Files
If you want a format that other email clients (like Thunderbird or Apple Mail) can open directly, .eml is a better fit than PDF.
- Open the message in Outlook on the web.
- Click the three-dot menu.
- Select Download (some tenants show this as Save as file).
- The email downloads as a .eml file to your default downloads folder.
You can repeat this for each message, or select multiple emails using Ctrl+Click (Windows) or Cmd+Click (Mac) before choosing the download option, depending on your Outlook version.
Method 3: Use the Built-In “Export Mailbox” Tool
This is Microsoft’s own answer to bulk exporting, and it’s free, but it isn’t instant.
- Log in to Outlook on the web.
- Click the Settings gear icon in the top-right corner.
- Select View all Outlook settings.
- Go to General > Privacy and data.
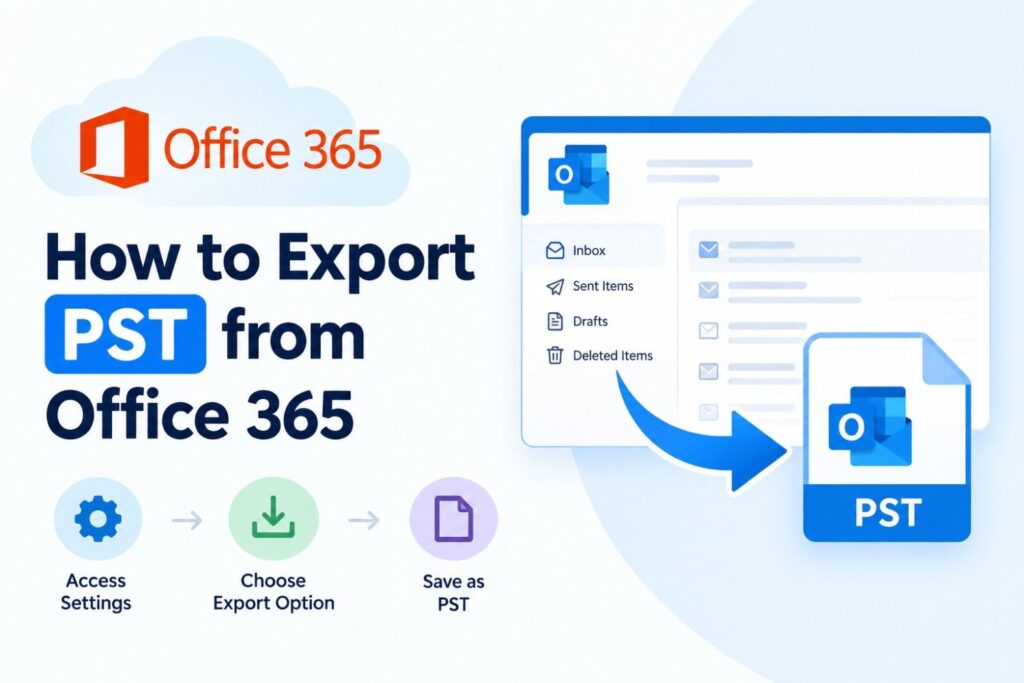
- Under Export mailbox, click Export mailbox.
- Confirm the request.
Microsoft will prepare your file in the background. Depending on your mailbox size, this can take anywhere from a few hours to about two days. You’ll get an email with a download link once it’s ready, and the file arrives in .pst format, which opens in the Outlook desktop app.
Tip: Set a reminder to check back, since the download link usually expires after a set number of days.
Method 4: Connect Outlook Desktop to Export as PST
If you already have the desktop Outlook app installed, this method gives you more control over which folders get exported.
- Add your Microsoft 365 account to Outlook desktop (File > Add Account).
- Wait for your mailbox to fully sync.
- Go to File > Open & Export > Import/Export.
- Choose Export to a file, then click Next.
- Select Outlook Data File (.pst).
- Pick the folders you want (or select the top-level mailbox to include everything, and make sure Include subfolders is checked).
- Choose a save location and click Finish.
This method reliably captures folders, attachments, and even some calendar or contact data if you choose to include it.
Method 5: Admin Bulk Export with Microsoft Purview
This one is built for IT admins and organizations that need to export data from one or many mailboxes at once, often for legal holds or compliance audits.
- Sign in to the Microsoft Purview portal with an admin account.
- Go to Content search or eDiscovery.
- Click New search, name it, and choose the mailbox or mailboxes to include.
- Apply filters if you only need a date range or specific senders.
- Run the search, then choose Export results.
- Download the export package once it’s ready.
Note: This requires appropriate admin permissions and is best suited for organizational, not personal, exports.
Method 6: Export a Mailbox with Exchange PowerShell
This method is for IT administrators managing an on-premises Exchange or hybrid environment. It’s more technical, but it’s scriptable and works well for repeat exports.
- Sign in to your Exchange server with an administrator account and open the Exchange Management Shell.
- Grant the export role if you haven’t already:
New-ManagementRoleAssignment –Role “Mailbox Import Export” –User Administrator - Create a shared network folder to hold the exported file, for example \\ServerName\PSTExports, and confirm the Exchange Trusted Subsystem has access to it.
- Run the export command:
New-MailboxExportRequest -Mailbox user@domain.com -FilePath \\ServerName\PSTExports\user_mailbox.pst - Check progress anytime with:
Get-MailboxExportRequest - Once the status shows complete, the PST file is ready in the shared folder.
Note: This only works with on-premises or hybrid Exchange Server setups, and it requires both admin rights and basic PowerShell familiarity. It isn’t available for standard Outlook Web App users on cloud-only Microsoft 365 plans.
Method 7: Use a Dedicated Backup Tool Like SkyMigrate
Native Microsoft tools work, but they can be slow, limited to PST format, or restricted to admins. If you need something faster, more flexible, or designed for non-technical users, a dedicated migration and backup tool like SkyMigrate can help.
With a tool built specifically for mailbox backup and migration, you typically get:
- Faster processing than the native two-day export wait
- Multiple output formats (PST, EML, PDF, and more, depending on the tool)
- The ability to include attachments automatically
- Options to filter by date, folder, or sender before exporting
- A simpler interface than juggling admin portals
This route makes the most sense if you’re migrating between platforms (for example, Microsoft 365 to Google Workspace), backing up multiple mailboxes, or simply want a faster, guided process.
Comparison Table: Which Method Should You Use?
| Method | Best For | Format | Speed | Skill Level |
| Save as PDF | A few important emails | Instant | Beginner | |
| Save as .eml | Moving emails to another client | .eml | Instant | Beginner |
| Built-in Export Mailbox | Full personal backup | .pst | Hours to 2 days | Beginner |
| Outlook Desktop Export | Selective folder backup | .pst | Minutes | Intermediate |
| Microsoft Purview | Organization-wide or legal exports | .pst | Hours | IT Admin |
| Exchange PowerShell | Scripted, repeatable admin exports | .pst | Minutes to hours | IT Admin |
| SkyMigrate (or similar tool) | Bulk backup, migration, multiple formats | PST/EML/PDF | Minutes to hours | Beginner-friendly |
Troubleshooting Common Export Problems
Even when you follow the steps correctly, a few issues come up often. Here’s how to handle them.
The Export Mailbox option is greyed out. This usually means your Microsoft 365 admin has disabled export permissions at the organization level. Ask your IT admin to grant eDiscovery export access, or check the Purview compliance portal if you manage the tenant yourself.
The download link never arrives. Large mailboxes and server-side throttling can delay Microsoft’s native export. Check the Privacy & Data settings page directly instead of waiting on the email, since the link sometimes appears there first.
PDF exports are missing attachments. The Print to PDF method only captures the message body as a flat document; it doesn’t embed files. Download attachments separately, or use a method that preserves them automatically, like a PST export.
A large PST download keeps failing. Browsers aren’t built for multi-gigabyte downloads and can time out mid-transfer. A download manager, or a backup tool that supports resuming an interrupted transfer, avoids the problem.
The exported PST file won’t open. This can happen if the file was generated during heavy server load. Try the export again during a quieter time, or run it through a PST repair utility before opening it in Outlook.
Common Mistakes to Avoid
- Deleting the original mailbox before confirming the export worked. Always open the downloaded file first.
- Forgetting attachments. Some export methods skip attachments unless you specifically select that option.
- Ignoring storage limits. Large mailboxes can produce PST files several gigabytes in size.
- Using an expired download link. Microsoft’s native export links don’t stay active forever.
- Skipping permission checks. Admin exports will fail silently if your account lacks the right role.
Expert Recommendation
If you only need a handful of emails, stick with the free PDF or .eml method. For a complete mailbox backup, the native Export Mailbox tool is reliable but slow. If time matters, or you’re moving data between platforms, a dedicated tool is usually worth it.
Frequently Asked Questions
How do I download all emails from Outlook 365 without installing anything? Use the built-in Export Mailbox tool inside Outlook on the web. Go to Settings > General > Privacy and data > Export mailbox. Microsoft prepares a .pst file in the background and emails you a download link once it’s ready. It’s completely free, though it can take up to two days depending on your mailbox size.
Can I download Outlook emails from Microsoft 365 for free? Yes. The native Export Mailbox feature and the “save as PDF” or “save as .eml” options are both free and built into Outlook on the web. You don’t need to buy any software unless you want faster processing or extra format options.
How do I download all emails from Outlook 365 including attachments? Use Outlook desktop’s Import/Export wizard and export to a .pst file, which preserves attachments by default. The native web export also keeps attachments intact. Third-party backup tools typically include an attachment toggle as well, so check that setting before starting the export.
Does the classic Outlook web app let me download all emails from the server at once? Not directly through a single click. The classic OWA interface doesn’t have a bulk “download all” button. You need to use the Export Mailbox setting, connect a desktop client, or use an admin-level tool like Microsoft Purview for organization-wide exports.
Can I download Outlook emails on Outlook 365 using a Mac? Yes. You can use the same “save as PDF” or “save as .eml” methods directly in the browser, since these work independently of your operating system. For a full PST-style backup, install Outlook for Mac, add your account, and use its export option, though Mac exports may use the .olm format instead of .pst.
Does Microsoft Outlook mail download still work on Windows 7? Yes, though with limits. Outlook on the web works in any modern browser regardless of operating system, so the PDF and .eml methods work fine on Windows 7. The desktop PST export depends on which Outlook desktop version you have installed, since newer Outlook releases have dropped official Windows 7 support. If your Outlook desktop app opens normally, the Import/Export wizard will still work.
How do I download all emails from the Outlook app on my phone? The Outlook mobile app doesn’t have a built-in bulk export option. The most reliable approach is to use the Export Mailbox tool from Outlook online on a desktop browser, or forward individual messages from the app if you only need a few. For a full backup, it’s easier to use a computer rather than the mobile app.
How do I download all emails from Outlook online in one go? Outlook online doesn’t have a single-click “download all” button, but the built-in Export Mailbox feature under Settings > General > Privacy and data gets you there. It packages your entire mailbox into a .pst file you can download once Microsoft finishes processing it.
Can I use Outlook classic to download all emails from the server at once? Yes. Outlook classic (the desktop application) can pull every folder from the server through Import/Export > Export to a file > Outlook Data File (.pst). Make sure your account has fully synced first, and check “Include subfolders” so nothing gets left behind.
Conclusion
A Microsoft Outlook mail download doesn’t have to be complicated once you know which method fits your situation. For a couple of emails, save them as PDF or .eml. For a complete personal backup, the built-in Export Mailbox tool gets the job done for free. For admin-level or organization-wide exports, Microsoft Purview is the right call.
And if you want a faster, more flexible option that skips the waiting and format limits, a dedicated tool like SkyMigrate can handle the backup or migration for you, attachments included.
Whichever method you choose, back up your Outlook emails before you need them, not after.
Related Blog Suggestions
- How to Download Your Gmail Data to the Local Computer
- Google Workspace to Microsoft 365 Migration (2026 Guide)
- What Actually Happens During an Email Migration
- IMAP vs POP3: What’s the Difference & Which One Should You Choose?
- How to Migrate Google Drive to OneDrive Without Data Loss
- How to Move Data from OneDrive to Another Drive